These instructions will work with the latest 3.1.2 firmware, the 05.11.07 baseband, and iPhones which require hactivation. If you have already jailbroken following these instructions will be easier. For those with a new iPhone 3GS (updated Bootrom), BlackRa1n only supports a tethered jailbreak. This means that once jailbroken you should not let your battery die. If it does die you will need to reconnect it to the computer and use BlackRa1n to boot it. Before continuing make sure you are on the 05.11.07 baseband by following this tutorial. If you are on 5.12.01 or higher, unfortunately you CANNOT jailbreak as of yet. If your baseband is lower than 05.11.07 then you must restore to the 3.1.2 firmware for the iPhone 3G or 3GS. You can do this by opening iTunes, selecting your iPhone from the list of devices on the left, then hold down the Option key and click Restore. You can find the Windows version of this tutorial here. Ok lets begin...  Watch the Video! Watch the Video!For your convenience this tutorial is available in video format also. Click the Watch It button to view the tutorial! Step One Open your web browser of choice and navigate to Here. Click the Apple logo at the bottom of the screen. 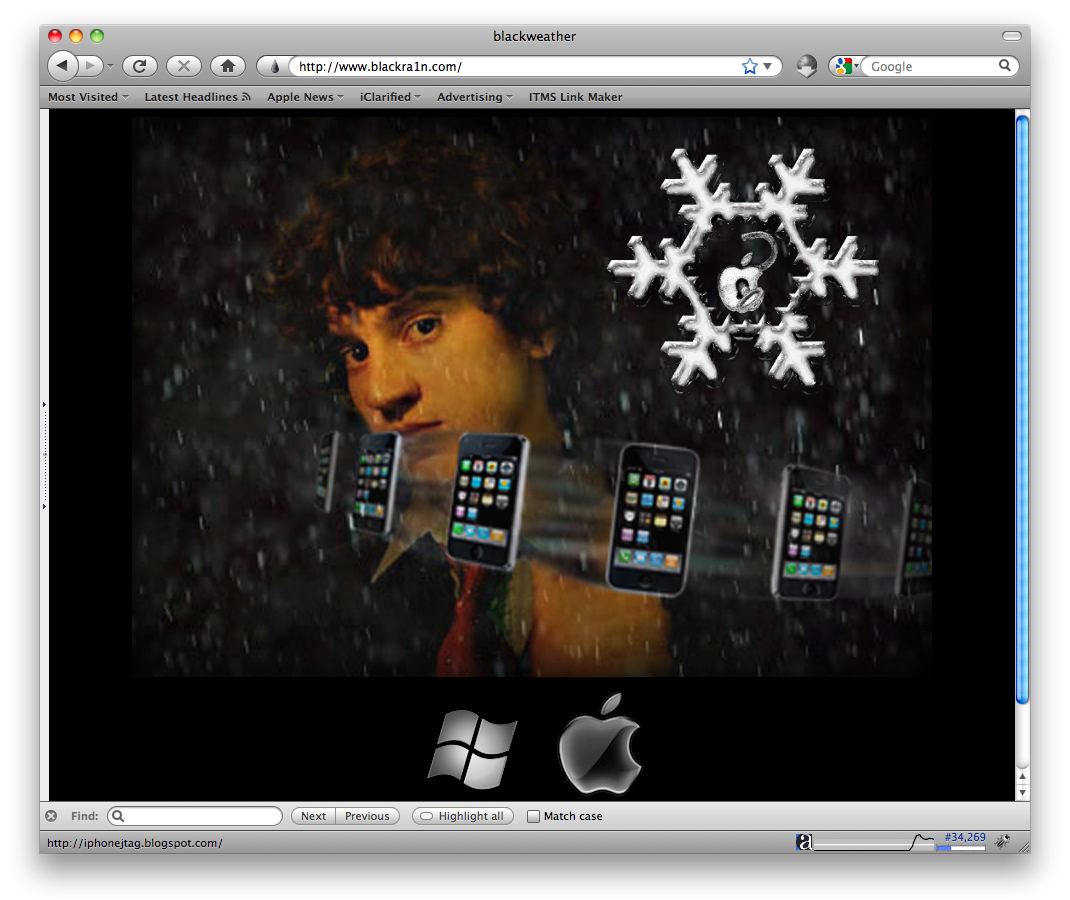 Step Two When prompted save the download to your desktop 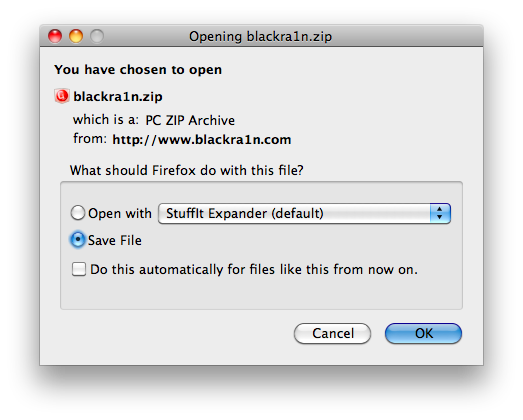 Step Three Then double click the downloaded blackra1n zip file to extract the application, then double click the application icon to launch the program 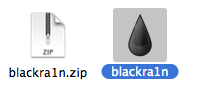 Step Four Make sure your iPhone or iPod is connected to the computer then click the large make it ra1n button 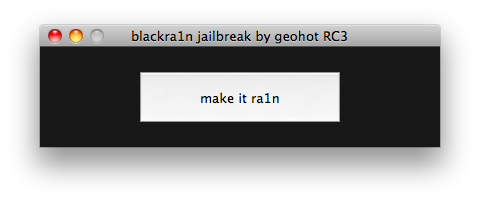 Step Five You iPhone will now be placed in recovery mode. 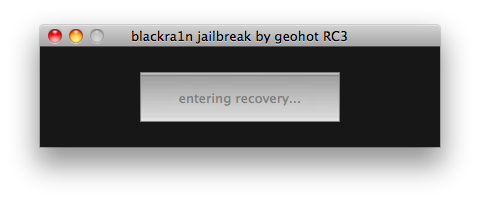 You will see a picture of GeoHot that replaces the regular recovery mode screen on your device. 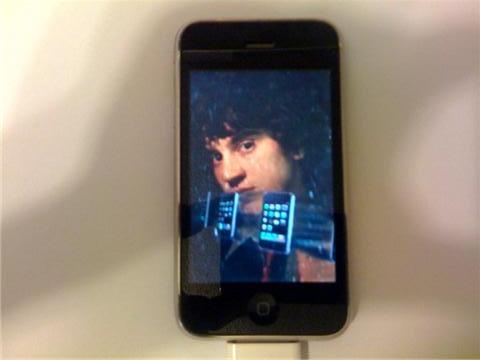 blackra1n will run and then your device will reboot. 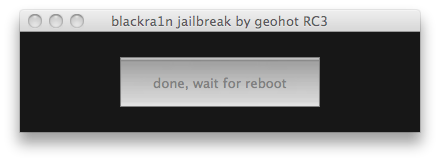 A popup message will appear informing you that BlackRa1n is free software and if you appreciate it you can donate to GeoHot at geohot@gmail.com. 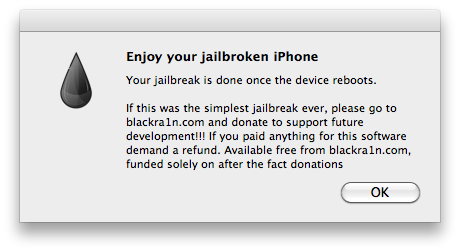 Step Six Once your device reboots it will be jailbroken and you will notice a blackra1n icon on the Springboard. Make sure you have an internet connection and press to launch the application. 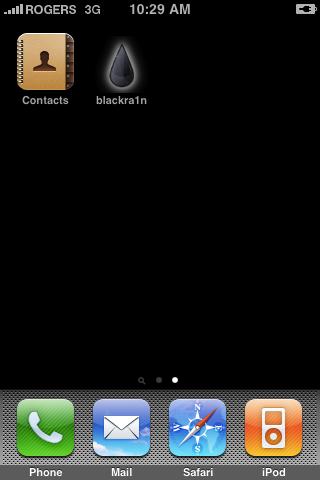 Choose the installer application of your choice then press to select sn0w if you would like to unlock your device. Press the Install button at the top right of the screen to begin. 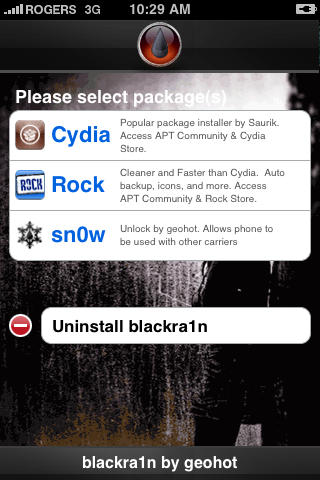 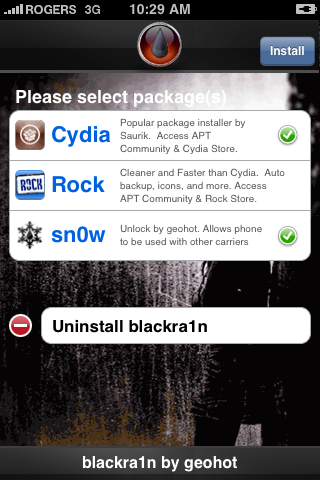 BlackRa1n will begin to download and install the packages you selected. 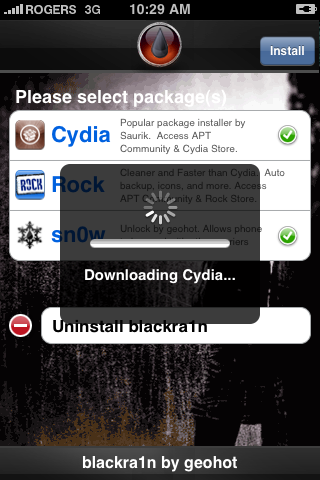 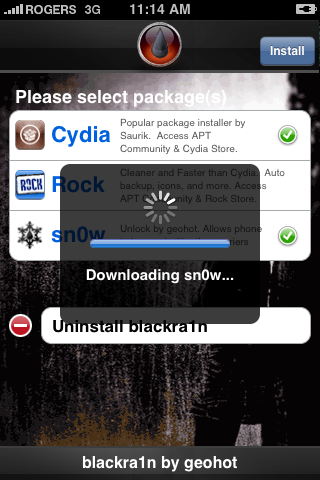 If you chose to unlock device using blacksn0w you will be presented with a Post Install log for sn0w. CommCenter will be restarted and there is no need to reboot. If your carrier doesn't support 3G then disable it. Press the Close button to continue. 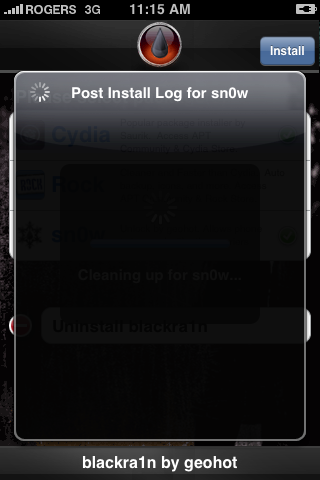 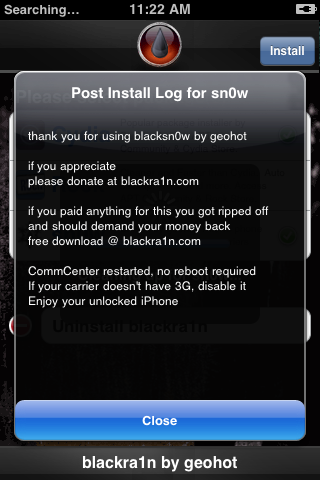 Step Seven Once complete BlackRa1n will respring your iPhone and you will find the installer package of your choice on the Springboard. 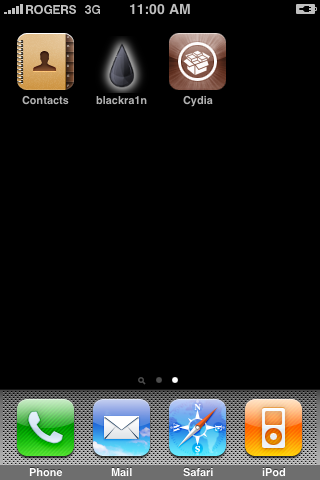 Step Eight Once you have confirmed your installer package is working correctly you may use the Uninstall blackra1nbutton inside the BlackRa1n app to remove it from your springboard. 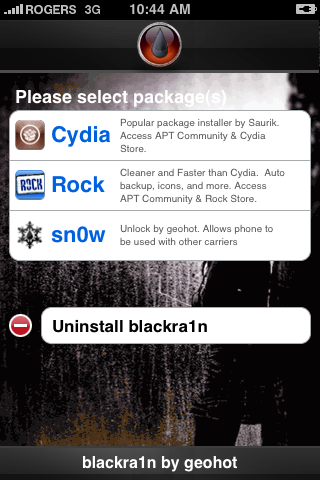 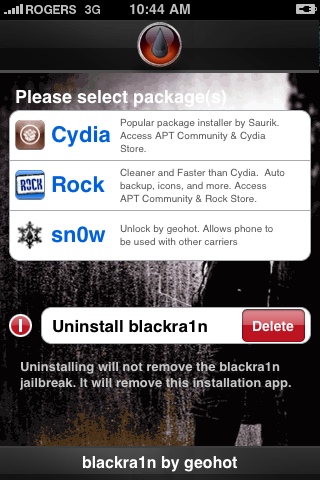 | ||
Showing posts with label Unlock. Show all posts
Showing posts with label Unlock. Show all posts
Tuesday, 14 February 2012
How to Jailbreak and Unlock Your iPhone 3G, 3GS Using BlackSn0w [Mac]

How to Unlock the iPhone 4, 3GS, 3G Using UltraSn0w
These are instructions on how to unlock the iPhone 4, iPhone 3GS, and iPhone 3G for use with any GSM cellphone carrier using UltraSn0w. This will work with the iOS 4.0 firmware.
Before you can follow these instructions you must have a jailbroken iPhone and you must be on the 04.26.08, 05.11.07, 05.12.01, 05.13.04, or 01.59 baseband(modem firmware).
To find your firmware and modem firmware(baseband) versions you can follow this tutorial.
If you are on T-Mobile remember to turn off 3G before starting...
Watch the Video!
For your convenience this unlock tutorial is available in video format also. Click the Watch It button to view the tutorial!
Step One
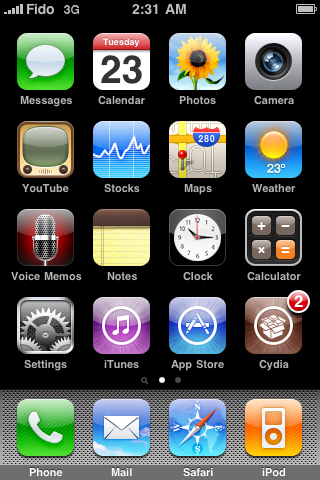
Press to launch Cydia Installer from your SpringBoard.

Step Two
Press to select the Manage tab at the bottom of the screen.

Step Three
Press to select the large Sources button

Step Four
If the ultrasn0w repo is not present press the Edit button at the top right of the screen. Otherwise, skip to Step Nine.

Step Five
Press the Add button at the top left of the screen.

Step Six
Enter http://repo666.ultrasn0w.com/ as the source url and press the Add Source button.

Step Seven
Once the source has been added press the large Return to Cydia button.

Step Eight
Press the Done button at the top right of the screen.

Step Nine
Press to select repo666.ultrasn0w.com from the list of user entered sources.

Step Ten
Press to select ultrasn0w from the list of packages

Step Eleven
Press the Install button at the top right of the screen.

Step Twelve
Press the Confirm button at the top right of the screen.

Step Thirteen
After installation completes successfully press the large Return to Cydia button.

Step Fourteen
Now press the Home button then power off and power on the iPhone. You do this by holding down the power button for 3 seconds then moving the power slider that appears to the right. Press the power button again to turn on the phone.

Step Fifteen
You should now be able to insert the SIM of your choice!


***THANKS: A big thank you to all the members of the iPhone Dev-Team for all their hard work! It is much appreciated by all.
Before you can follow these instructions you must have a jailbroken iPhone and you must be on the 04.26.08, 05.11.07, 05.12.01, 05.13.04, or 01.59 baseband(modem firmware).
To find your firmware and modem firmware(baseband) versions you can follow this tutorial.
If you are on T-Mobile remember to turn off 3G before starting...
Watch the Video!For your convenience this unlock tutorial is available in video format also. Click the Watch It button to view the tutorial!
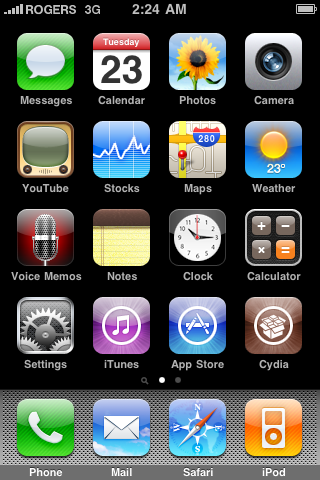
Step One
Press to launch Cydia Installer from your SpringBoard.
Step Two
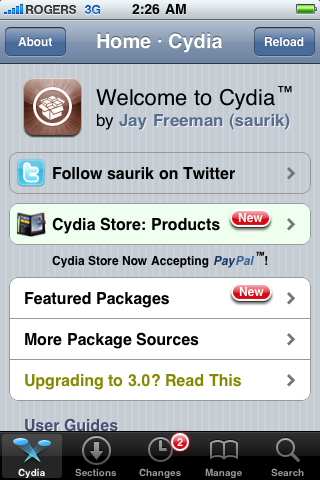
Press to select the Manage tab at the bottom of the screen.
Step Three
Press to select the large Sources button
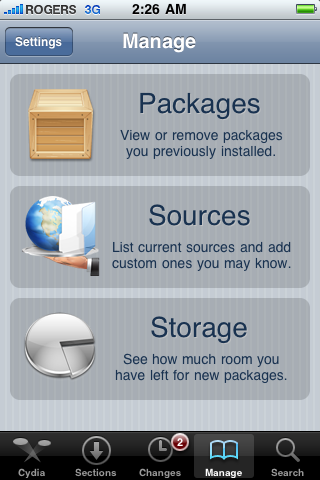
Step Four
If the ultrasn0w repo is not present press the Edit button at the top right of the screen. Otherwise, skip to Step Nine.
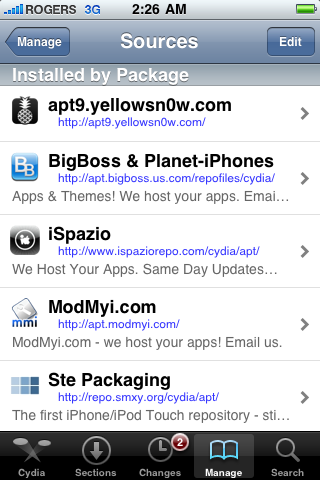
Step Five
Press the Add button at the top left of the screen.
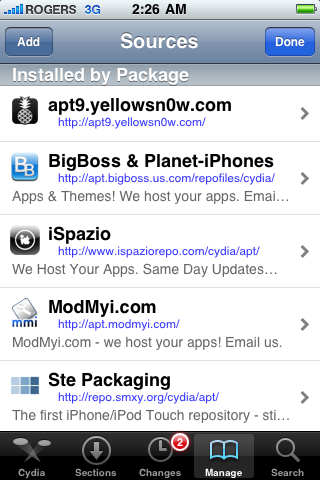
Step Six
Enter http://repo666.ultrasn0w.com/ as the source url and press the Add Source button.
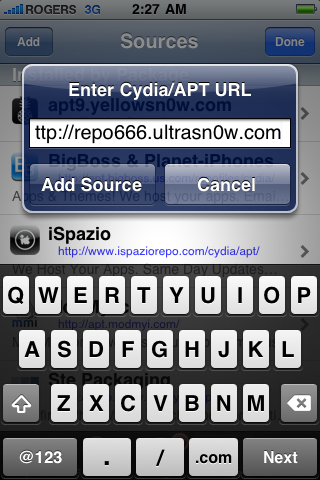
Step Seven
Once the source has been added press the large Return to Cydia button.
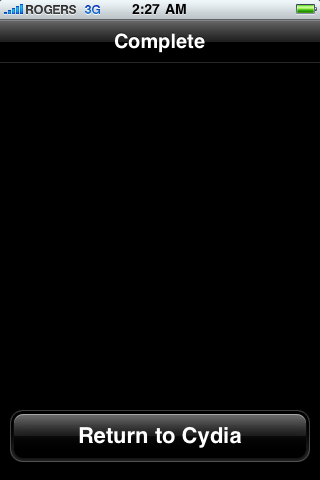
Step Eight
Press the Done button at the top right of the screen.
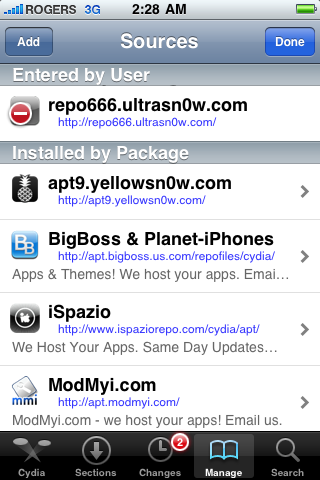
Step Nine
Press to select repo666.ultrasn0w.com from the list of user entered sources.
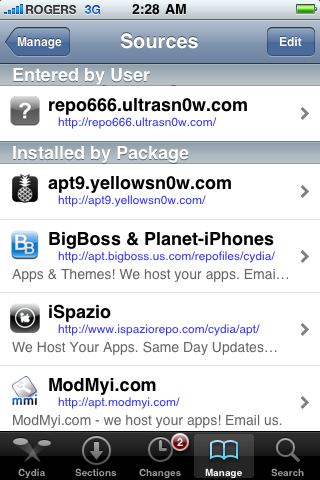
Step Ten
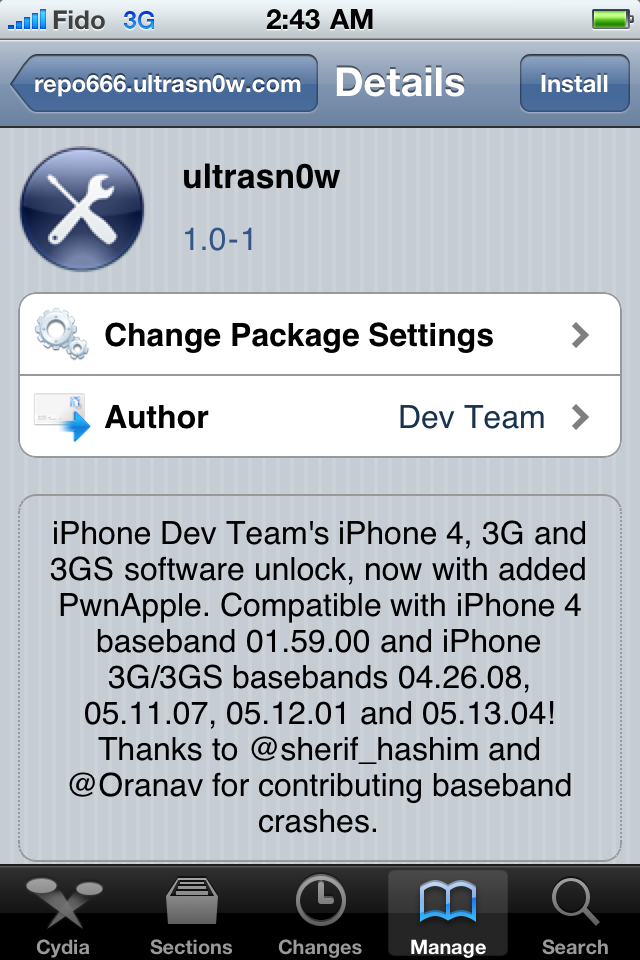
Press to select ultrasn0w from the list of packages
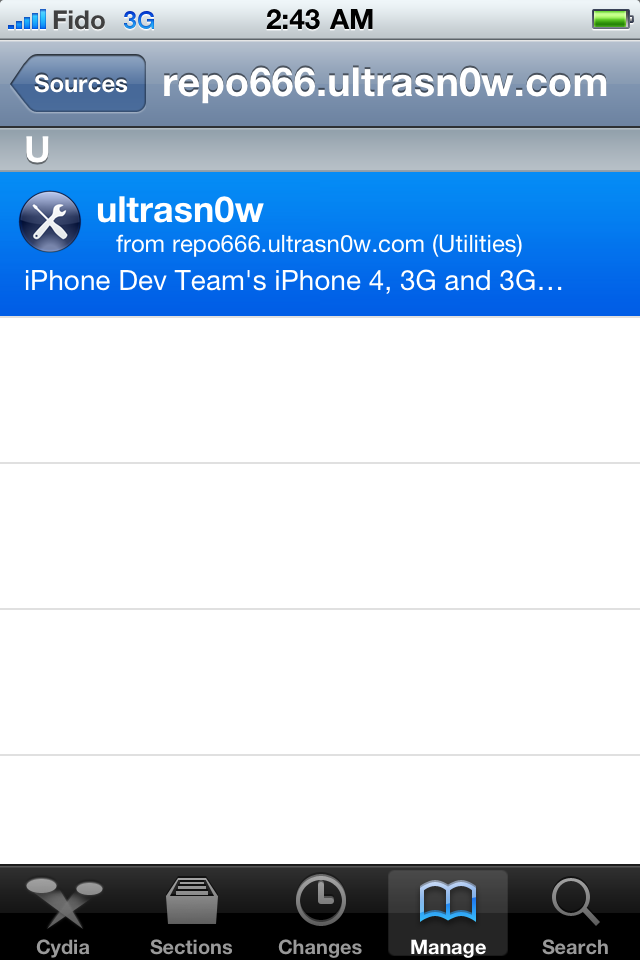
Step Eleven
Press the Install button at the top right of the screen.
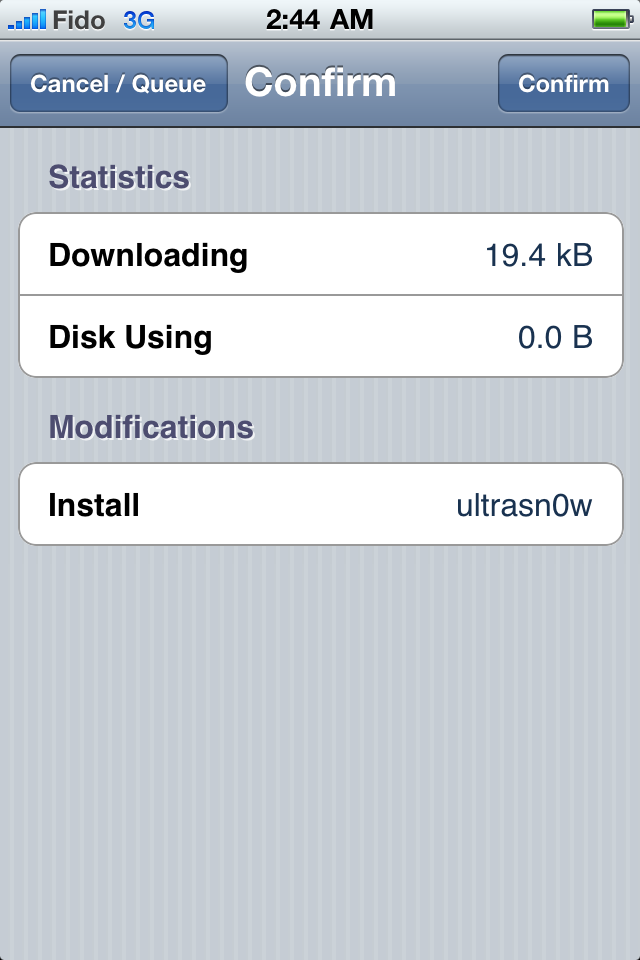
Step Twelve
Press the Confirm button at the top right of the screen.
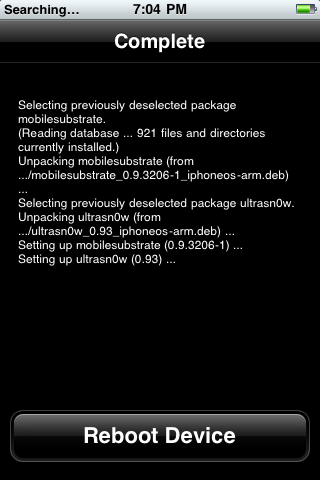
Step Thirteen
After installation completes successfully press the large Return to Cydia button.
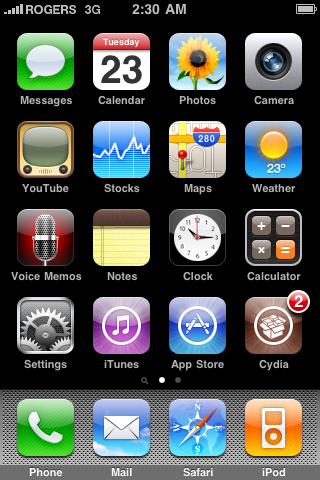
Step Fourteen
Now press the Home button then power off and power on the iPhone. You do this by holding down the power button for 3 seconds then moving the power slider that appears to the right. Press the power button again to turn on the phone.

Step Fifteen
You should now be able to insert the SIM of your choice!
***THANKS: A big thank you to all the members of the iPhone Dev-Team for all their hard work! It is much appreciated by all.
Subscribe to:
Posts (Atom)