| Instructions on how to perform an untethered jailbreak of your iPhone 3GS on the iOS 5.0.1 firmware using RedSn0w for Mac. This procedure will cause you to upgrade your baseband potentially ruining your chances for an unlock. Step One Create a folder on your desktop called Pwnage Download the latest RedSn0w from here and place it in the Pwnage folder. Likewise, download the 5.0.1 firmware from here and place it in the Pwnage folder. Extract the RedSn0w zip file by double clicking it. 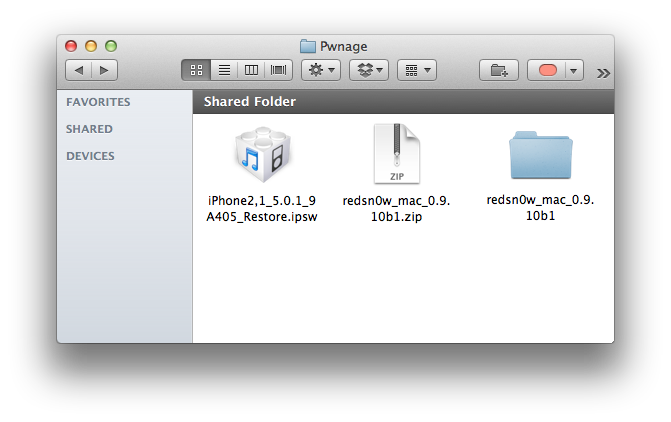 Step Two: (Skip this step if you're on iOS 5.0.1 already) Connect your iPhone to the computer and launch iTunes.  Select your iPhone from the list of devices on the left. Now hold down Option and click the Restore button. Restore is preferred as it won't create any wasted space on your iPhone. 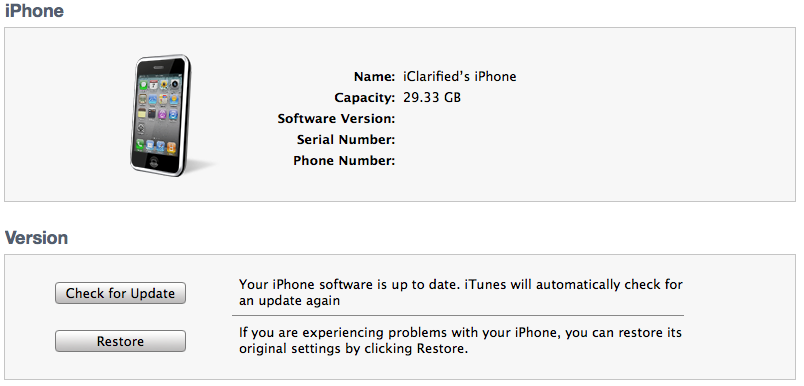 Navigate to the Pwnage folder on your desktop and select the 5.0.1 firmware ipsw. Click the Choose button to continue. 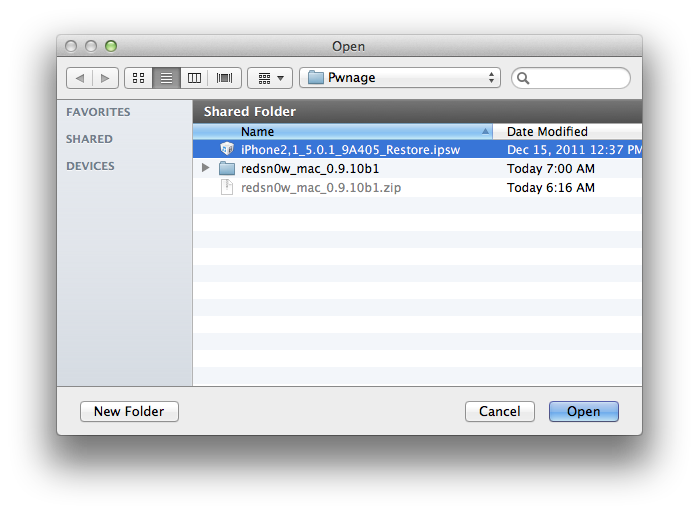 iTunes will now update your iPhone to the new firmware. Step Three Launch the redsn0w application from the redsn0w folder we extracted earlier.  Step Four Once RedSn0w opens click the Extras button 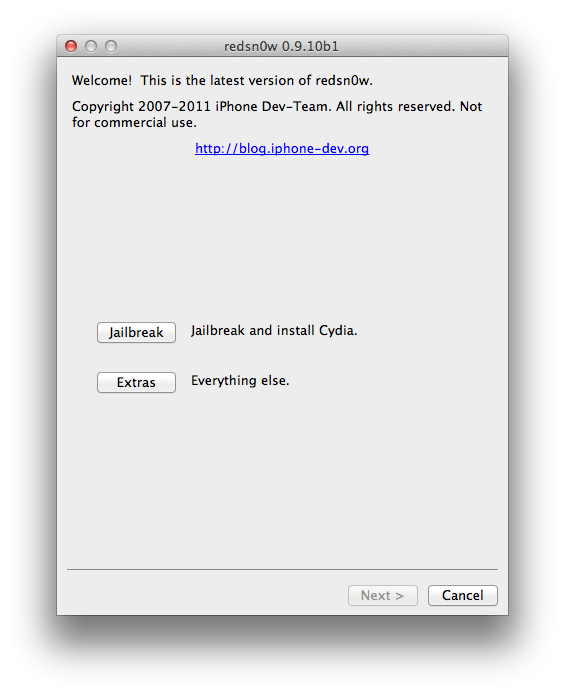 Choose Select IPSW from the Extras menu. 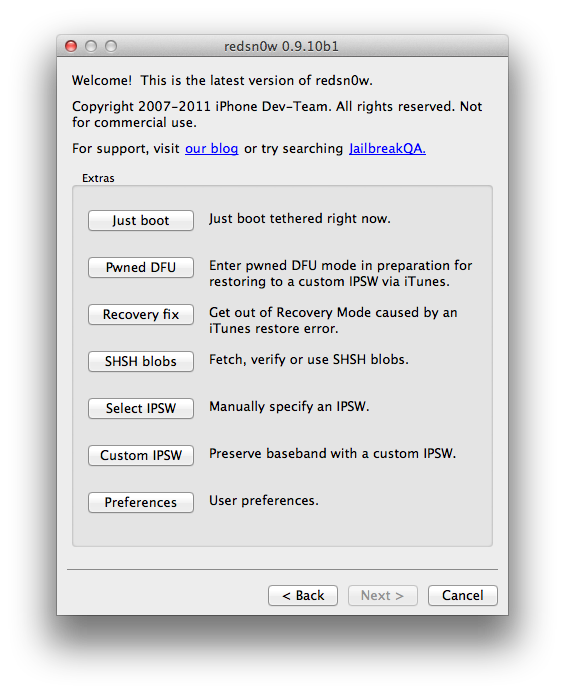 Select the iOS 5.0.1 firmware ipsw from Pwnage folder on your desktop and click Open. 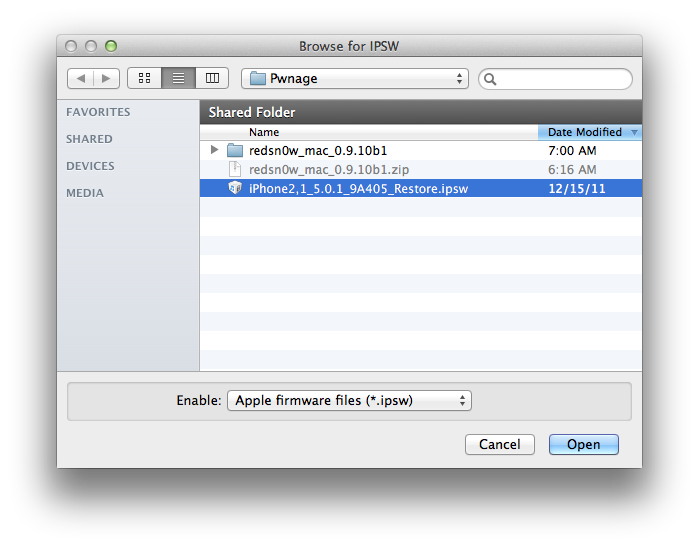 Click OK to dismiss the confirmation window. 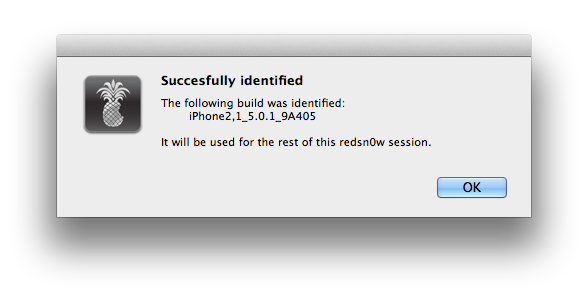 When asked tell RedSn0w whether you have a new model or older model of the iPhone 3GS then click the theBack button. 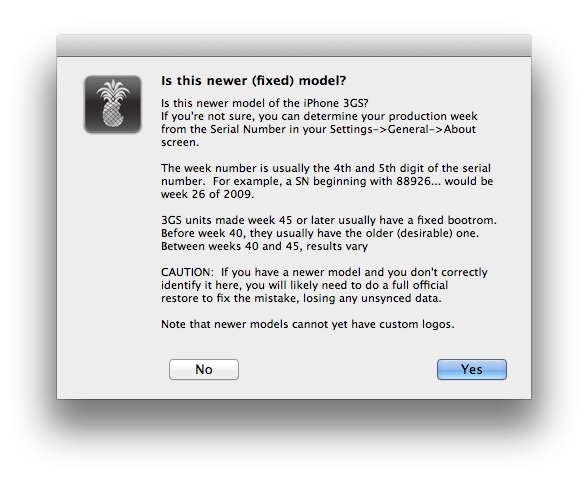 Press the Jailbreak button to continue. Step Five Plug your iPhone into the computer and make sure its OFF then click the Next button 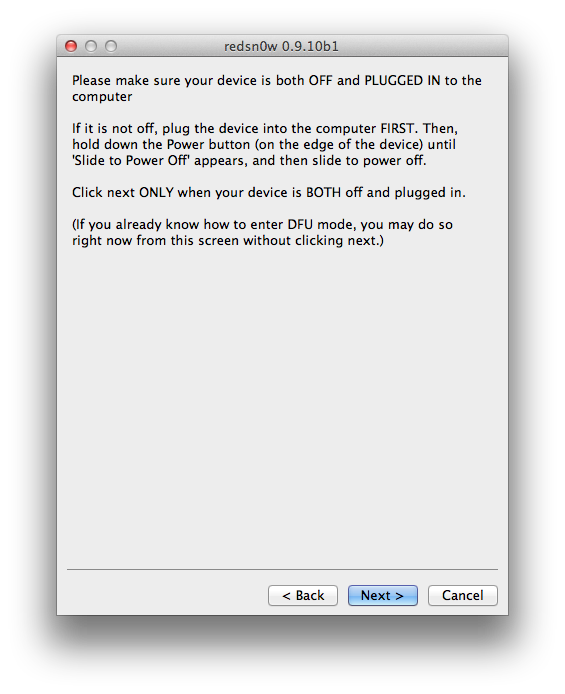 Step Six RedSn0w will now guide you through the steps to get into DFU mode. You can find more help with DFU mode here 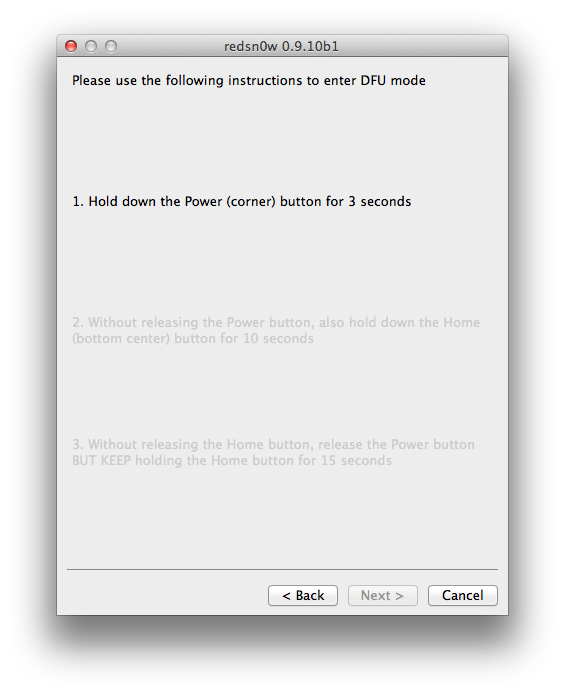 Hold down both the Home button and the Power button for 10 seconds. 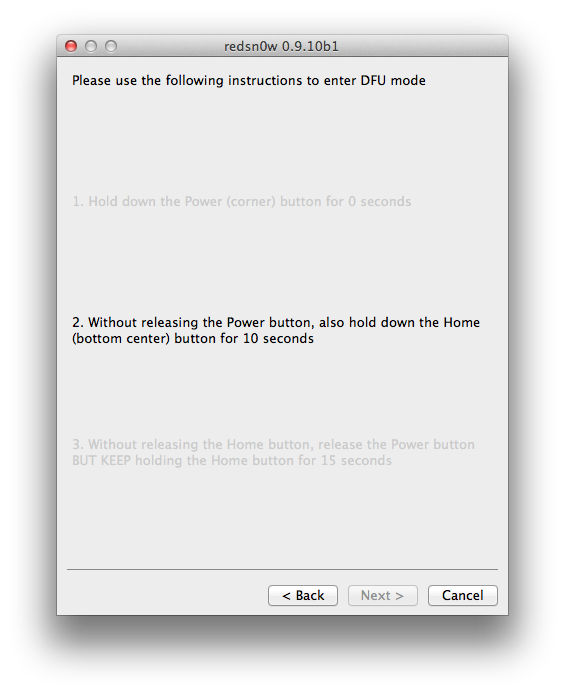 Release the Power button and continue holding the Home button until RedSn0w detects the device. 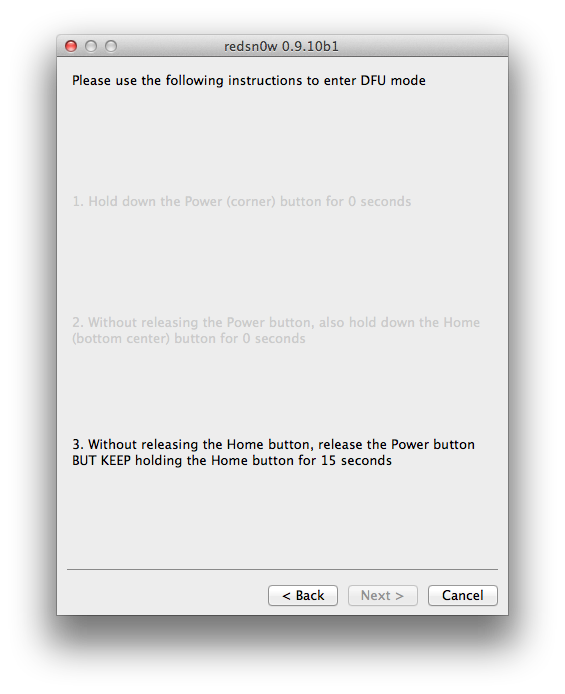 Step Seven Your iPhone will now reboot 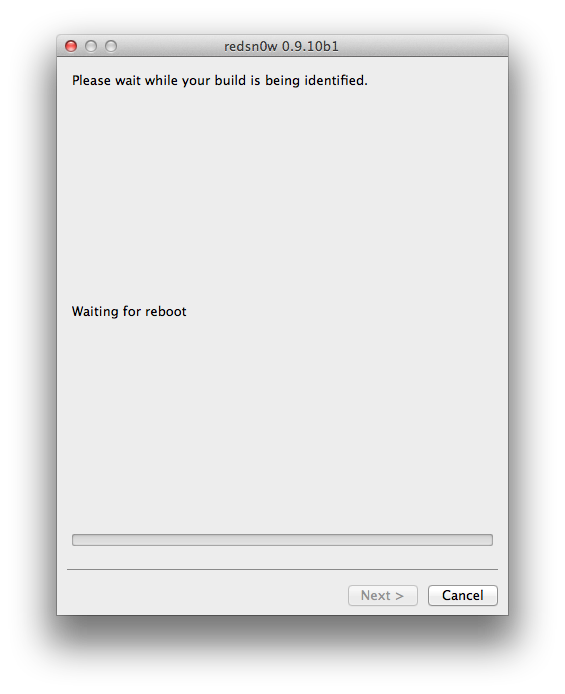 Step Eight RedSn0w will prepare the jailbreak data. 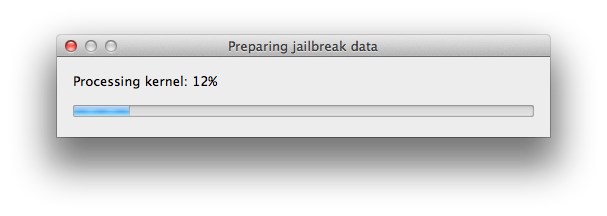 Step Nine Select Cydia from the list of options and click Next. 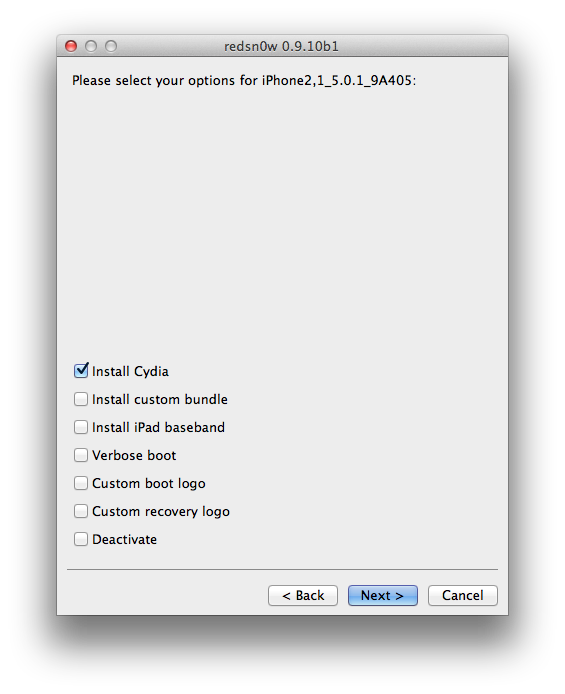 Step Ten Your iPhone will now be rebooted again and RedSn0w will begin uploading the new RAM Disk and Kernel. 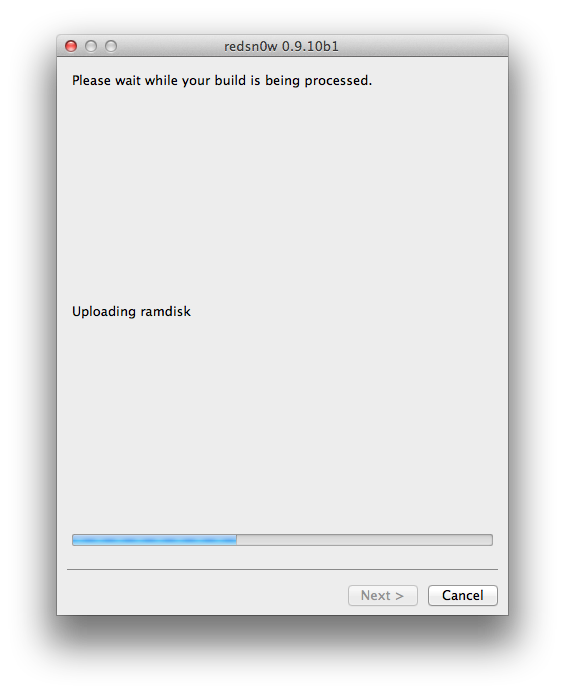 Step Eleven Once this is complete you will be notified that RedSn0w is done. When your iPhone finishes rebooting (5 minutes or so) it will be jailbroken with Cydia on the SpringBoard. 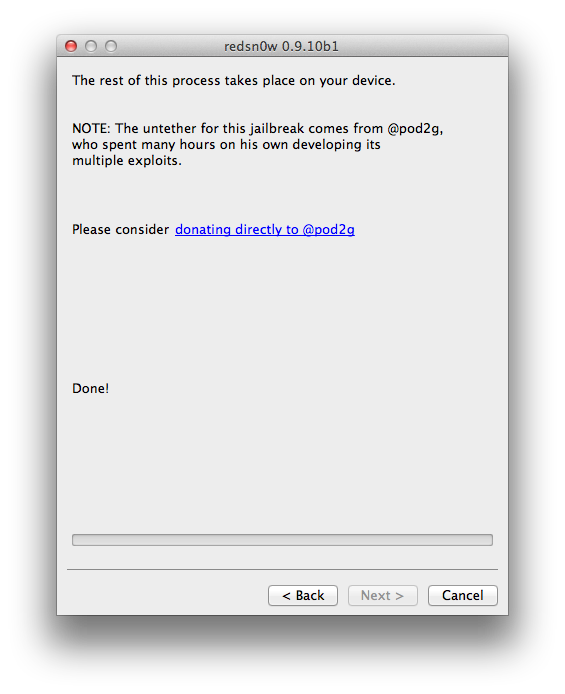 *As usual a big thanks to the iPhone Dev-Team, Chronic Dev-Team, pod2g, and Geohot for their hard work and contribution to the iPhone community. | ||
Wednesday, 15 February 2012
How to Perform an Untethered Jailbreak of Your iPhone 3GS (Mac) [5.0.1]

How to Untether Your Previously Tethered Jailbreak Using Corona [5.0.1]
| These are instructions on how to untether your previously tethered iOS 5.0.1 jailbreak using Corona. Step One Launch Cydia from your Springboard. 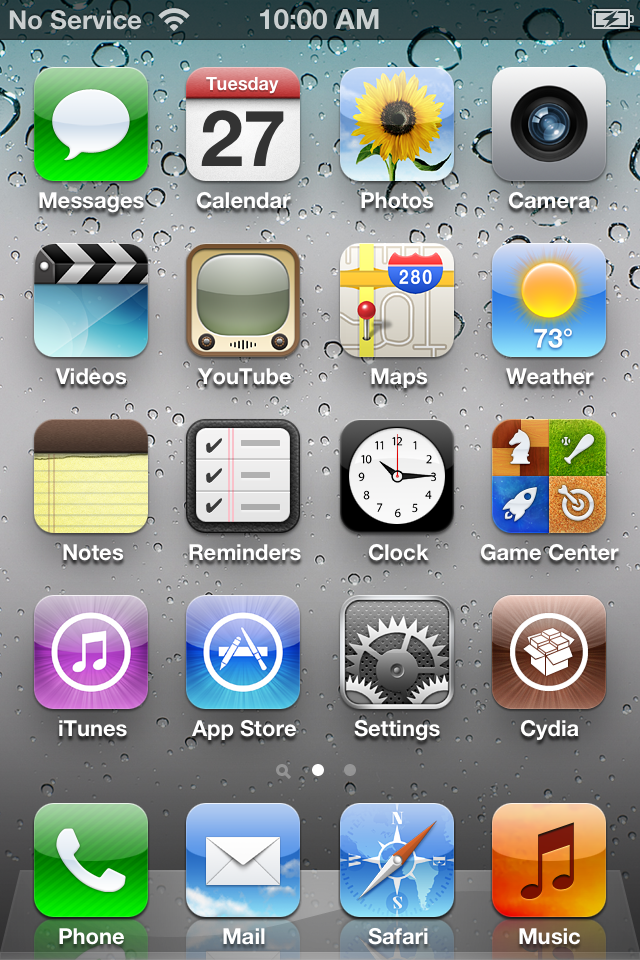 Step Two Select the Search tab at the bottom of the screen. 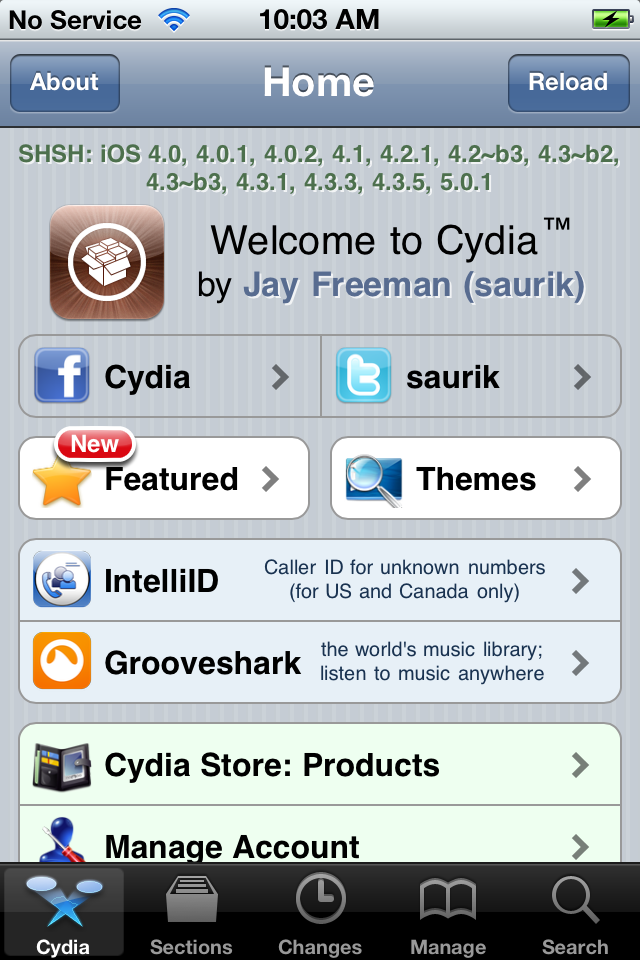 Step Three Type Corona into the search field and press to select the Corona 5.0.1 Untether package once it's found. 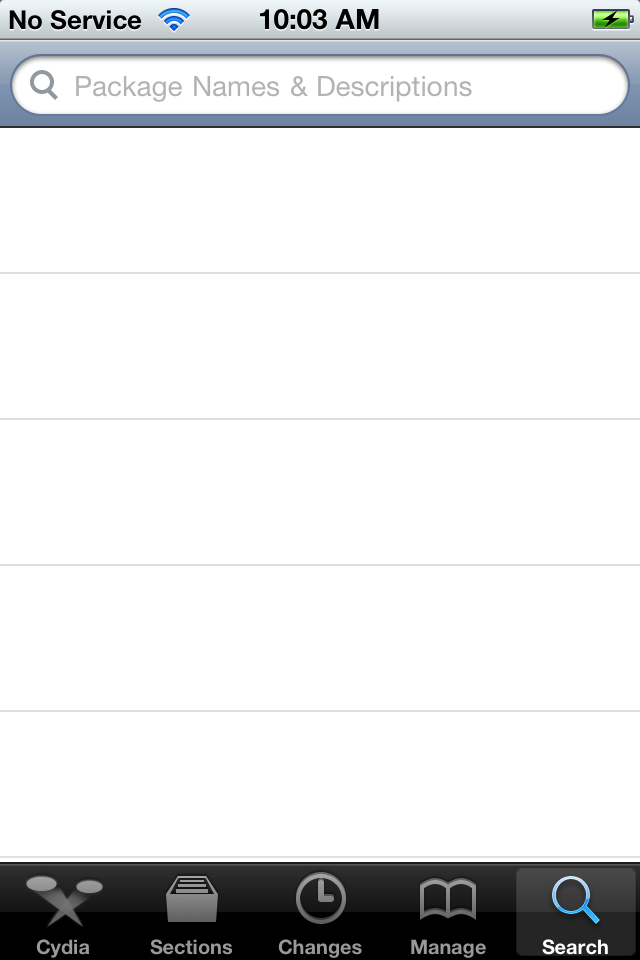 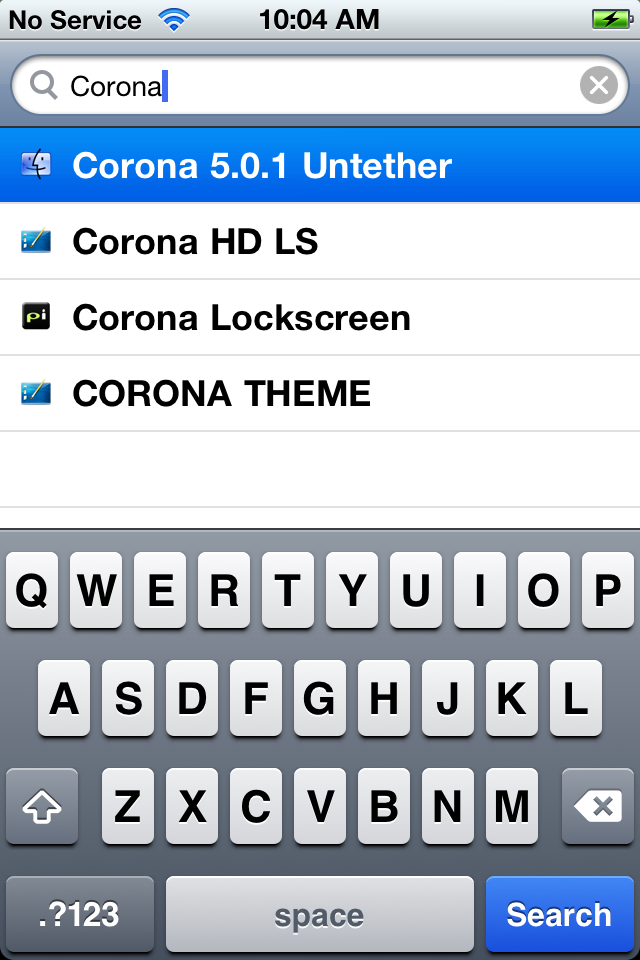 Step Four Press the Install button at the top right of the screen. 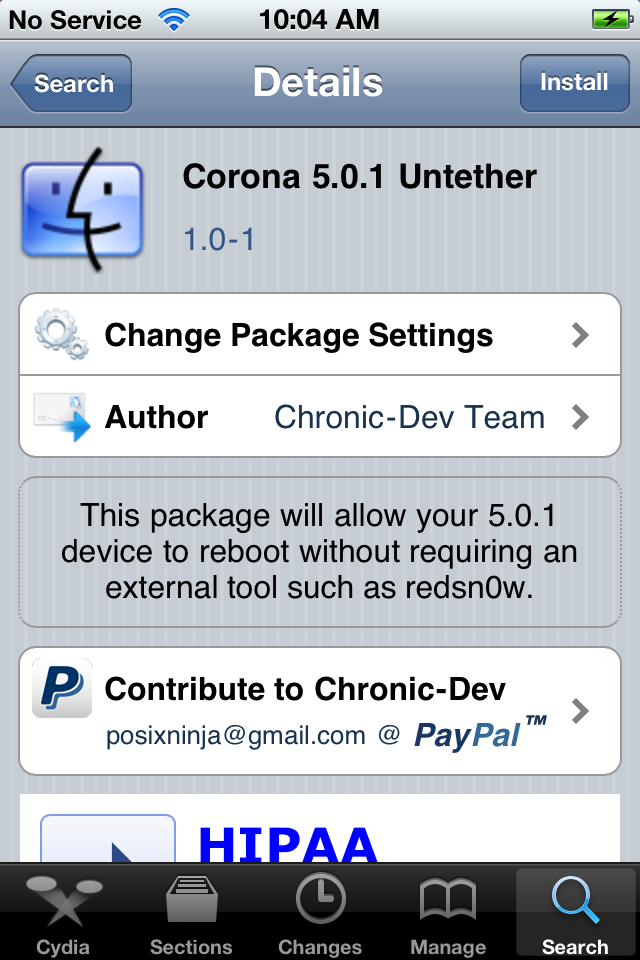 Step Five Press the Confirm button to begin installation. 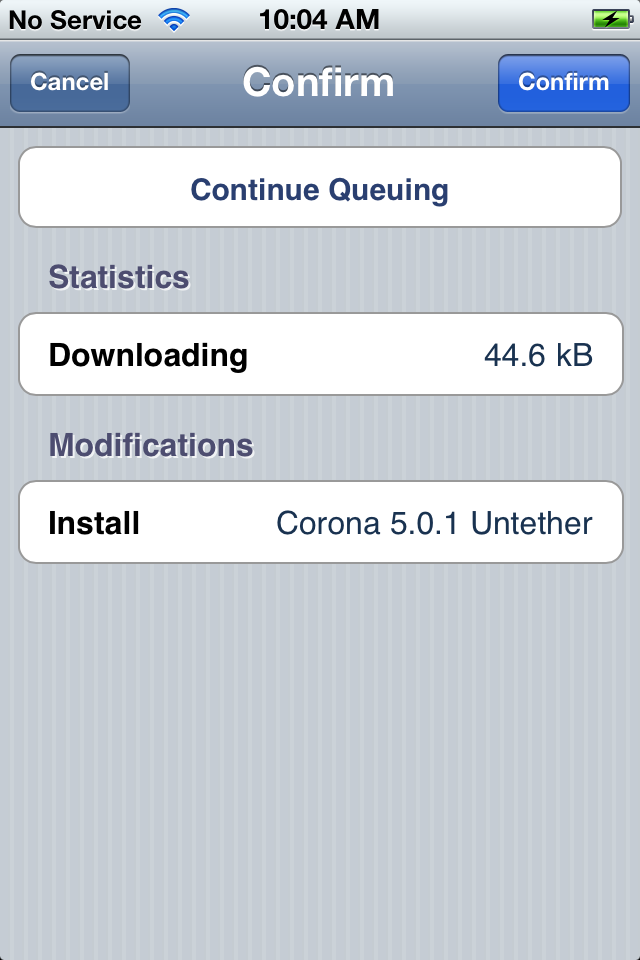 Step Six Once installation has completed successfully you can press the large Return to Cydia button. 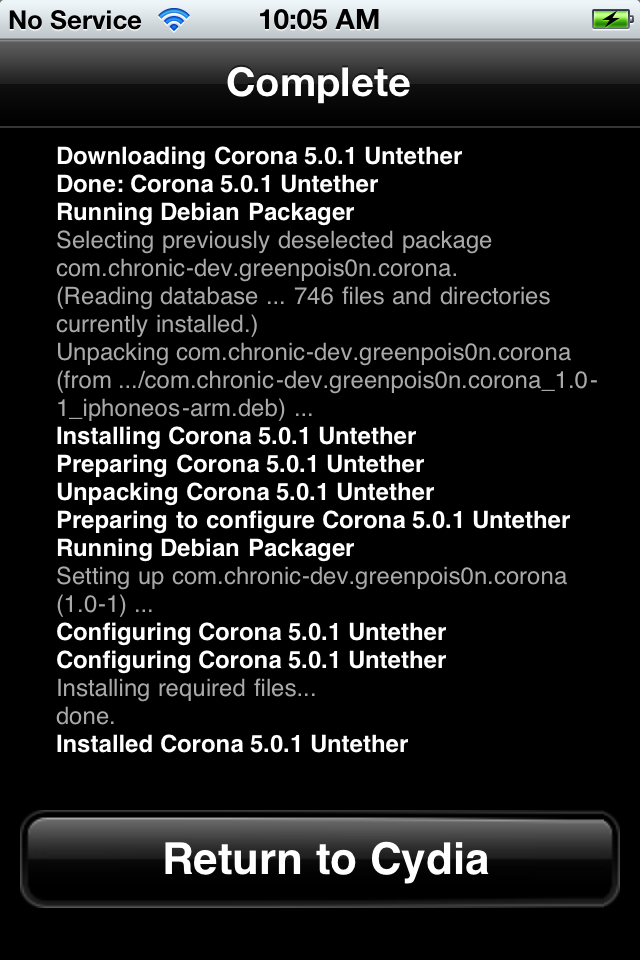 Step Seven You can now reboot your device with an untethered jailbreak! *Thanks to the Chronic Dev-Team and pod2g for making this package available! | ||
Untether Your Tethered iOS 5.0.1 Jailbreak With Corona
| The Chronic Dev-Team has announced the release of Corona, a Cydia package to untether your tethered iOS 5.0.1 jailbreak. This package will allow your 5.0.1 device to install pod2g's untethered exploits and reboot without requiring an external tool like redsn0w or sn0wbreeze, and without having to restore your device (so you get to keep all your apps, contacts, etc). To install Corona, simply launch Cydia, search for Corona, and press the Install button. You can find more detailed instructions here. If you do not have a tethered jailbreak already or prefer a clean install you can use the newly released version of RedSn0w to perform an untethered jailbreak of your device. Read More 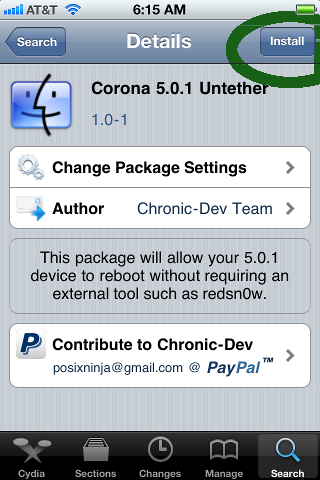 | ||
How to Jailbreak Your iPhone 4S Using Absinthe (Mac) [5.0, 5.0.1]
| These are instructions on how to perform an untethered jailbreak of your iPhone 4S using Absinthe for Mac. Warning***: Before you continue make sure to do a backup of your device in iTunes as you may lose your Camera Roll during this process. Step One Download the latest version of Absinthe from here. Step Two Double click to extract the downloaded archive and launch the Absinthe application.  Step Three As prompted, connect your iPhone 4S to the computer via USB. Make sure to remove any passcodes or VPN settings you've previously set. 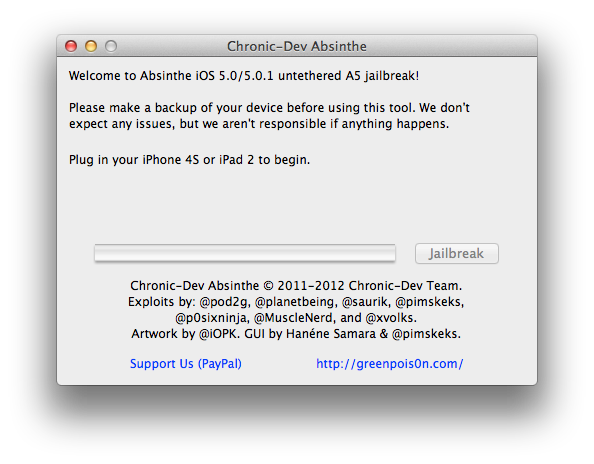 Step Four Click the Jailbreak button to begin 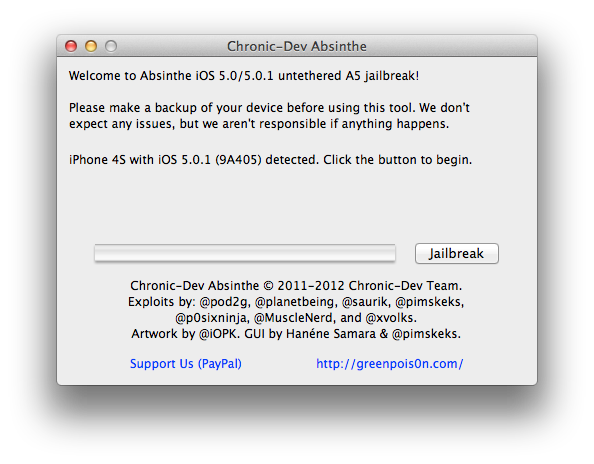 Step Five The application will take you through several steps of the jailbreak: Sending initial data, waiting for reboot, waiting for device to finish booting, Preparing jailbreak data, and Sending payload data. 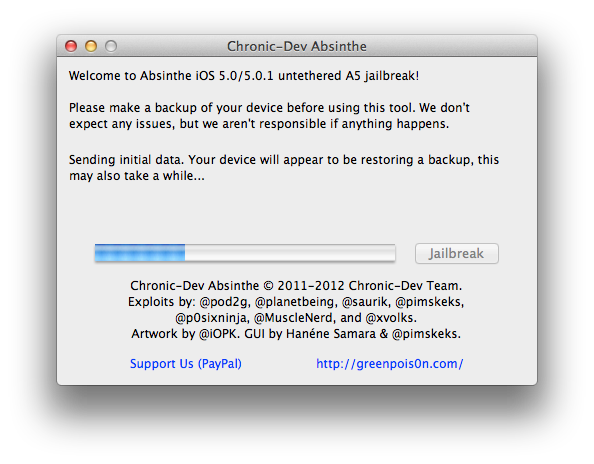 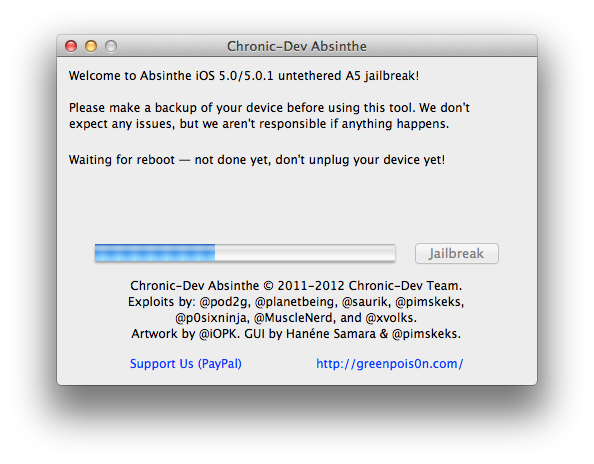 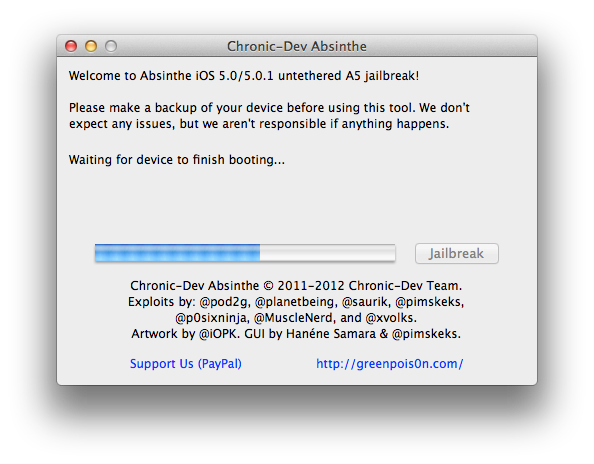 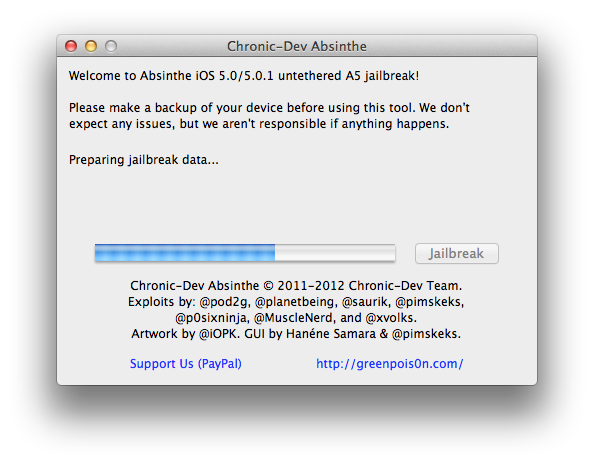 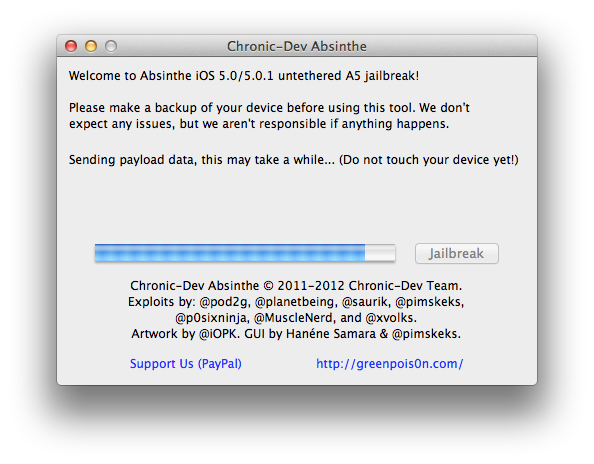 Step Six You will be informed that the jailbreak is 'Almost done'. 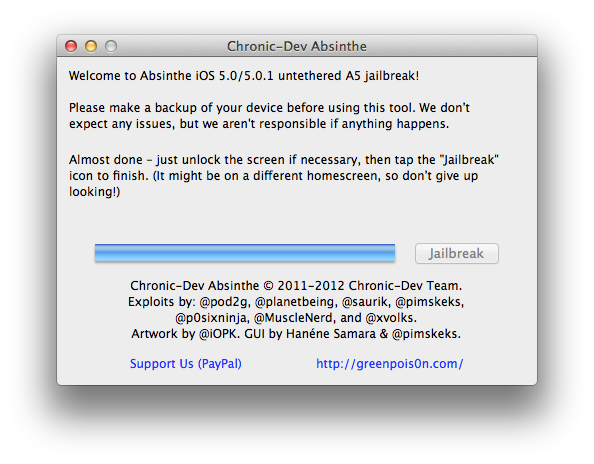 Step Seven On your device, locate the Absinthe icon and press it to complete your jailbreak. It could be on any homescreen. 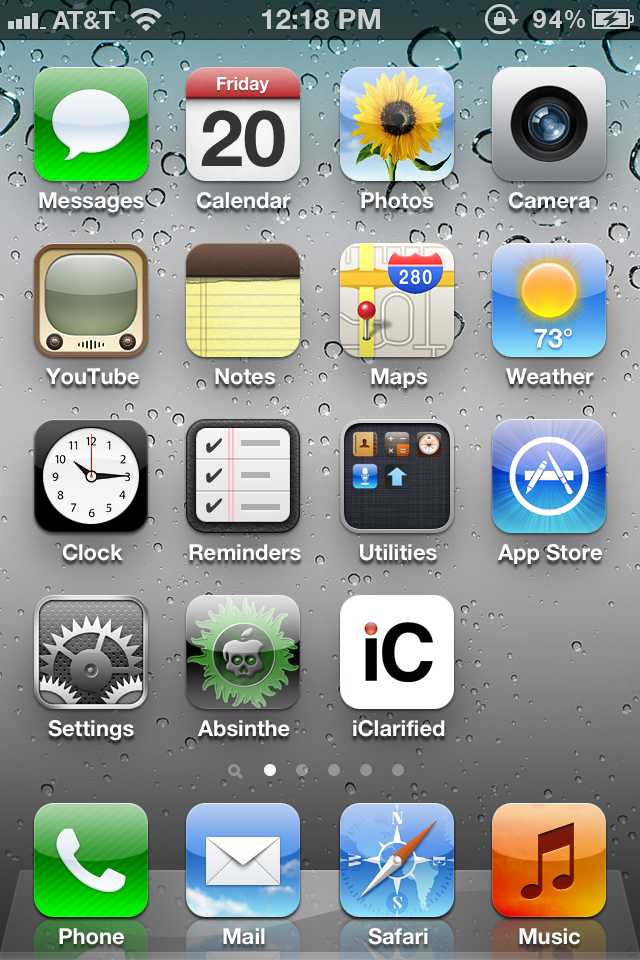 If the server is down and you get an Error establishing a database connection message then tap the Settings icon on your springboard and turn on VPN. 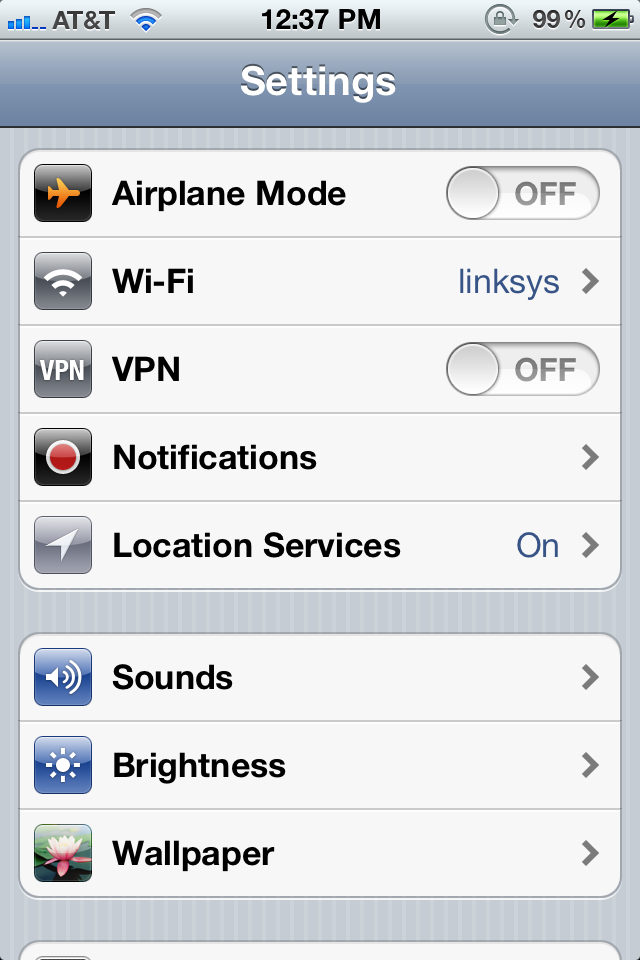 You will get a configuration error; however, after about a minute your device will reboot with Cydia on the Springboard! 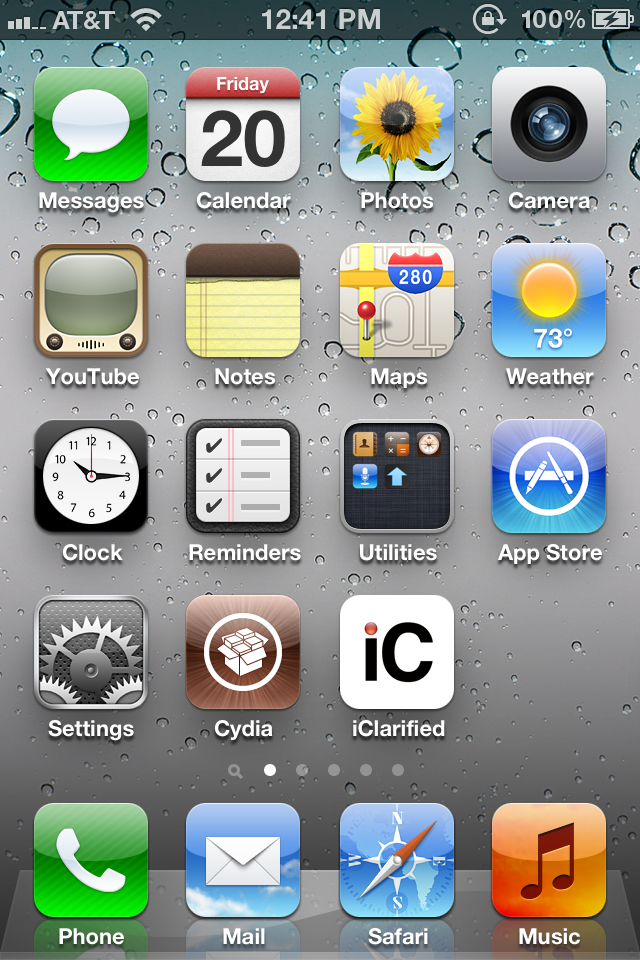 | ||
How to Perform an Untethered Jailbreak of Your iPhone 4 (Windows) [5.0.1]
This procedure will cause you to upgrade your baseband potentially ruining your chances for an unlock. Step One Create a folder on your desktop called Pwnage Download the latest version of RedSn0w from here and place it in the Pwnage folder. Likewise, download the 5.0.1 firmware from here and place it in the Pwnage folder. (Note: you do not need to download the 5.0.1 firmware if you are already on iOS 5.0.1) Extract the RedSn0w zip file by double clicking it. 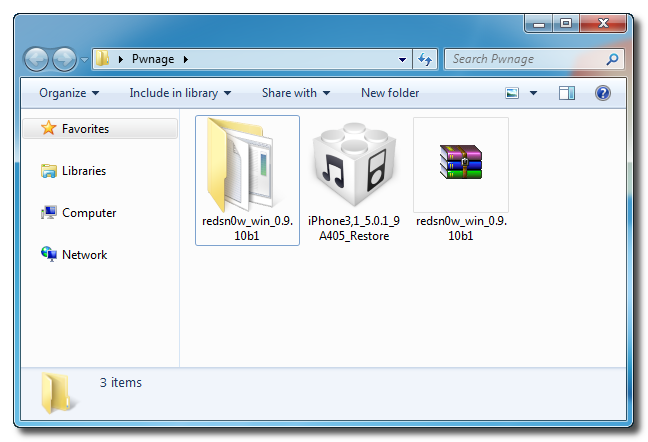 Step Two: (You can skip this step if iOS 5 is already installed on your device) Connect your iPhone to the computer and launch iTunes.  Select your iPhone from the list of devices on the left. Now hold down Shift and click the Restore button. Restore is preferred as it won't create any wasted space on your iPhone.  Navigate to the Pwnage folder on your desktop and select the 5.0 firmware ipsw. Click the Choose button to continue. 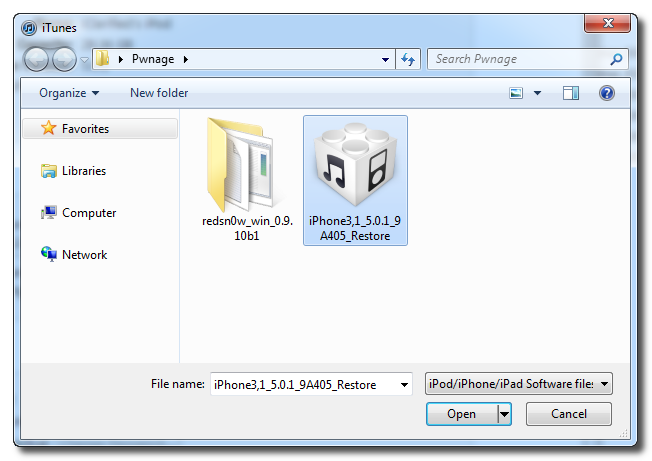 iTunes will now update your iPhone to the new firmware. Step Three Launch the redsn0w application from the redsn0w folder we extracted earlier.  **Windows 7 users may want to try running the redsn0w executable mode as an administrator in Windows Vista compatibility. You can do this by right clicking the executable and selecting Properties from the contextual menu. Step Four Once RedSn0w opens click the Jailbreak button  Step Five Plug your iPhone into the computer and make sure its OFF then click the Next button  Step Six RedSn0w will now guide you through the steps to get into DFU mode. You can find more help with DFU mode here  Hold down both the Home button and the Power button for 10 seconds.  Release the Power button and continue holding the Home button until RedSn0w detects the device.  Step Seven Your iPhone will now reboot  Step Eight RedSn0w will now prepare the jailbreak data.  Step Nine Select Cydia from the list of options and click Next.  Step Ten Your iPhone will now be rebooted again and RedSn0w will begin uploading the new RAM Disk and Kernel.  Step Eleven Once this is complete you will be notified that RedSn0w is done. When your iPhone finishes rebooting (5 minutes or so) it will be jailbroken with Cydia on the SpringBoard.  *As usual a big thanks to the iPhone Dev-Team, Pod2g, and Geohot for their hard work and contribution to the iPhone community. | ||
Subscribe to:
Posts (Atom)